Wikipedia defines pointillism as a technique of painting in which small, distinct dots of pure color are applied in patterns to form an image. Go to the link above to read more at the Wikipedia site.
The objective of the following assignment is for the student to create an original painting using the technique of pointillism. I feel that as students use the pointillism technique they will better understand the method and will develop an appreciation for the work of others using this technique.
Supplies needed for this assignment are pretty basic. You need:
1. Drawing paper, watercolor paper, or Bristol board. You can also use computer paper but a heavier paper works better. If using computer paper make sure not to get the paper too wet when painting.
2. Paint. Tempera or watercolor paint works great. My students use a Prang 8 color watercolor set.
3. A water container. You don’t really use much water at all. A paper cup will work.
4. Cotton swabs. The swabs will be your painting utensil instead of a paintbrush. You will probably need about 10 if you do not put them in the water too much.
5. Picture of a butterfly or flower or whatever it is you want to paint. It should be something fairly simple so that you do not have much detail.
Steps for the assignment:
Step 1: Draw the subject you want to paint lightly with pencil. Do not shade. An outline drawing of the object is all you need. No details.
Step 2: Paint using cotton swabs. I limited my students to the primary colors and black. Get your swab damp and dip into the paint. If you are using a watercolor set get the paint wet as well. Once the swab has paint on it, touch the swab to the paper to create dots. Fill in the different areas with different colors. You can change the size of the dot by the angle that you touch the swab to the paper. Practice before placing dots on your drawing.
The basic knowledge of color mixing is helpful.
Red + Yellow = Orange
Yellow + Blue = Green
Red + Blue = Purple or Violet
If you want to create a green leaf using the pointillism technique the way Seurat did you would paint blue dots and yellow dots in the same area. Let the dots dry before painting one over the other. Leave a space between dots as you work allowing dots in one area to dry before layering dots on top of each other. If you don’t you will not have dots anymore.
How do you see green with blue and yellow dots? Your eye blends the two colors together and you see green. Amazing!
Step 3 : Evaluate your progress. I find that it is helpful to occasionally stop working and take a look at your art work from a distance. Even taking a break for a minute or two will help you have a fresh eye. Often you will see things you did not see before. Determine if you need to place more dots in certain areas of your painting.
Step 4: Enjoy your work!
Ways to modify this assignment:
Use a paintbrush instead of cotton swab.
Use any colors you wish instead of limiting yourself to the primary colors.
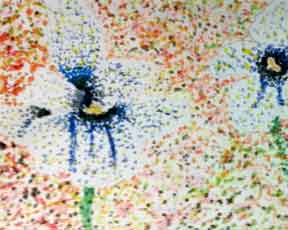
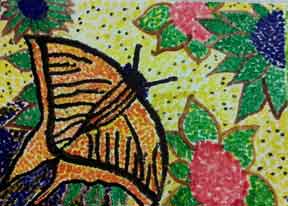
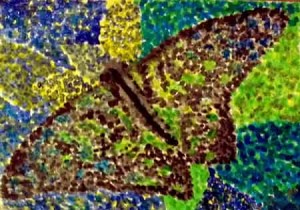
This assignment can be done by any child of any age. The art work shown in this article is done by my high school first year students.


